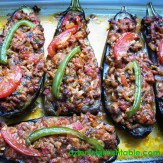
Oruk, baked icli kofte, a version of kibbeh; these bulgur balls with walnut and ground meat stuffing are a real treat.
Oruk, or (Sam Orugu as they are also referred) the baked oval bulgur balls with delicious ground meat and walnuts filling, is a very popular dish at my hometown, Antakya (Antioch). It is a very special dish that turns up at my mother’s table at every festive event and family gatherings.
Antakya’s Oruk is a version of the delicious Kibbeh, which is considered to be the national dish of Lebanon. A very popular dish, kibbeh has variations in the Middle East, Cyprus (where it is called koupes) and Turkey. I suppose the difference between them is the spices & some ingredients used (for instance, there is allspice and pine nuts in Kibbeh), as well as the cooking method (Oruk is baked whereas Kibbeh is generally fried). There is also the Turkish Icli Kofte; this one is similar to Oruk, but rather than being baked, icli kofte is first boiled in water then sautéed in oil. If you have made any of these, I would love to hear your experience and perhaps stories behind them.
Whenever we go back to Turkey, oruk welcomes us at the first night of our visit, along with mother’s other specialty dishes like Mevlubi; the layers of rice with eggplants, meat, onion or potatoes, Cevizli Biber; walnut & red pepper paste dip or this delicious yoghurt based soup with bulgur balls in it. Surrounded by this special food and the company, we always know that we are back home.
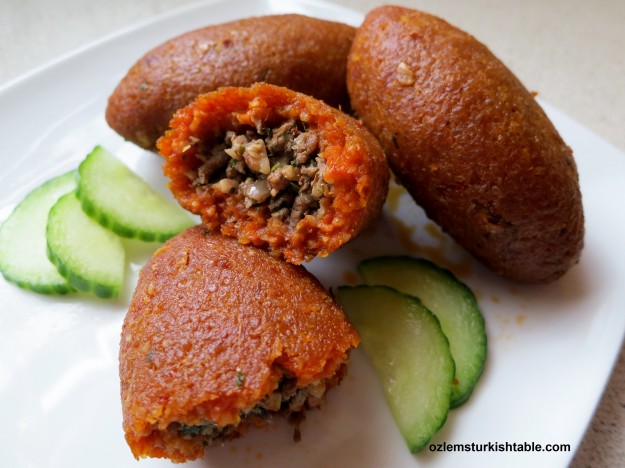
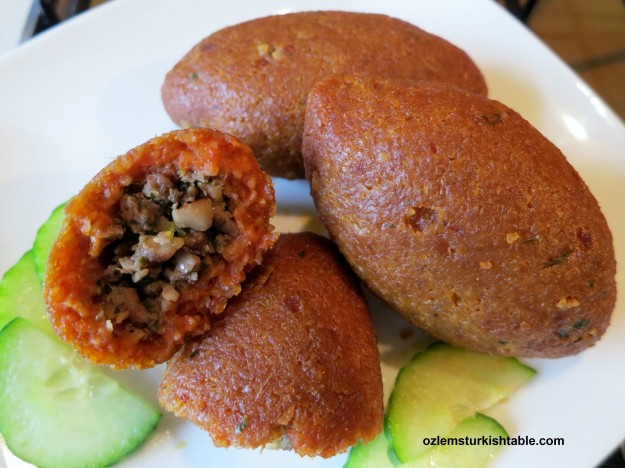
Antakya’s Oruk or baked icli kofte, a version of kibbeh
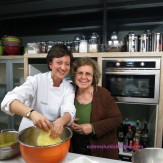
I have been getting requests from readers on how to make oruk or baked icli kofte. Making oruk is a grand event at home; I grew up watching my grandmother and mother making this special treat with family and friends gathered around a big table in Antakya. Some would make the filling, some to prepare the bulgur dough and some to do the stuffing. Since there were no food processors around in those days, they would ground the meat and bulgur with hand held machines. There were lots of kneading and mixing involved and since they would make vast amounts to share and it would almost take a day for this feast to get ready. A lot of effort, but well worth it.
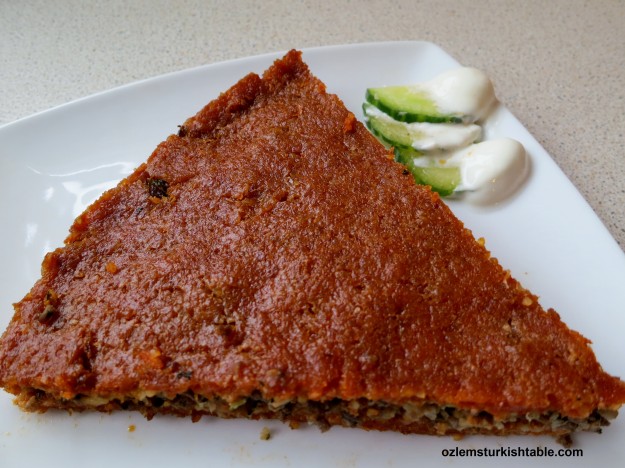
Tray baked Sini Orugu is easier to make and equally delicious.
A few tips here to ease the process. I suggest you to prepare the filling a day in advance, if you have a limited time. The filling anyway needs to be cool and this really helps with spreading the work. A few readers emailed to say that their bulgur dough couldn’t stay intact. Semolina is the key here; it works great as the binding agent in the bulgur dough. You also need to have water aside and continuously wet your hands while shaping the dough. Ground meat that goes in the bulgur dough needs to be extra lean and double ground (you may ask your butcher to do this for you or you can pulse the ground meat in your food processor a few times). You may also prepare the easier Sini Oruk; tray baked bulgur spread with ground meat and stuffing in the middle. They are both very special treats at the end, quite a sacred food for me and worth all the effort.
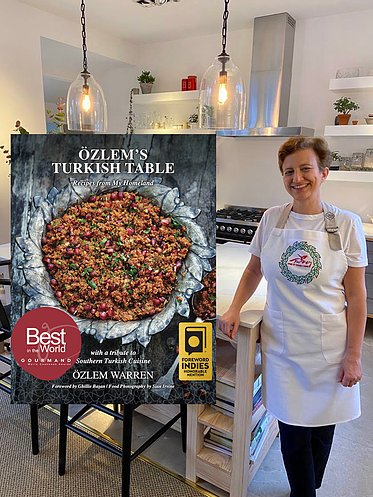
If you are an oruk, icli kofte or kibbeh fan, I hope you would give it a go and make these delicious treats at home. My cookery book Ozlem’s Turkish Table, Recipes from My Homeland has a special focus on southern Turkish cuisine and many regional dishes including this Oruk is included in my book. Signed copies available at this link and now 25 % Off for a limited time and delivered worldwide including USA.
Serves 12 -14 generously
For the filling:
250gr/9oz ground beef (medium fat)
100gr/4oz shelled walnuts, finely crushed to small pieces (but not ground, needs to have a bite to it)
3 medium onions finely grated
1 bunch flat leaf parsley, finely chopped
30ml/2tbsp. olive oil
10ml/2tsp. ground black pepper
10ml/2tsp. red pepper flakes/ pul biber
Salt to taste (at least 2 tsp. recommended)
For the bulgur dough:
450gr/1lb. fine bulgur, koftelik bulgur (if you can only get coarse bulgur, you can pulse it a few times in food processor)
12fl.oz/ 1 ½ cup warm water to wet the bulgur and another 1 cup warm water to knead bulgur
167gr/ 1 cup semolina
4 fl.oz./½ cup warm water for semolina
250gr/9oz extra lean (double) ground beef
60ml/4 tbsp. Turkish hot pepper paste, biber salcasi
15ml/3tsp. ground cumin
10ml/2tsp. red pepper flakes/ pul biber
Salt to taste (bear in mind that the pepper paste is quite salty too)
Bowl of cold water for shaping the oval balls
Grease a small baking tray for the oval balls and a 32cm/12” round baking dish (or equivalent size) for tray bake oruk
Preheat the oven to 160 C/320F/Gas Mark 3
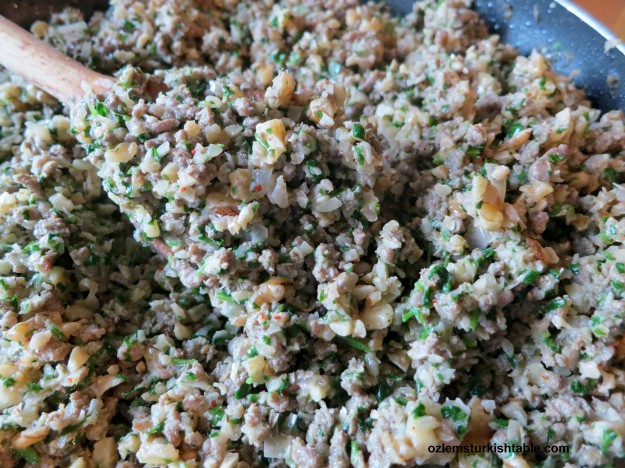
Oruk, icli kofte filling with ground meat, onions, walnut and spices.
First make the filling, as it needs to cool down (to save time & spread the work, you can also prepare the filling a day in advance and keep in the fridge, covered). Heat the oil in a heavy pan and stir in the medium fat ground beef. Sauté and stir the meat, breaking the lumps into smaller pieces, over medium heat for about 8-10 minutes, until all the juice evaporated. Add the grated onion, salt, ground black pepper and red pepper flakes and sauté for another 5–8 minutes until onions softened and begin to color. Then add the finely crushed walnuts and the chopped parsley, mix well and turn the heat off. Leave aside to cool down (This really is a delicious filling, we couldn’t help having a few tea spoonfuls, it would also make a great pasta sauce).
Now, let’s make the bulgur dough. Place the fine bulgur in a large mixing bowl (big enough for you to be able to knead). Stir in the red pepper paste, cumin, salt and red pepper flakes and using your hands, mix them all well. Then slowly pour the 1 ½ cup warm water all over it. Again using your hands, give the bulgur mixture a good mix and make sure all bulgur is wet. Let it rest and absorb the water for 10 minutes. In the meantime, place the semolina in a separate bowl and stir in the ½ cup warm water over it. Using your hands, knead and turn the semolina mixture into a soft dough. Semolina is important here as it helps binding the bulgur dough.
Have the ½ cup warm water bowl next to you and start kneading the bulgur mixture for about 5 minutes. Wet your hands continuously while kneading. Stir in the semolina dough into this bulgur mixture and wetting your hands, knead for another 5 minutes, you will see that the dough is getting more elastic and binding together. Add the double ground extra lean beef to the mixture (you can use your food processor for the meat) and again with wetting your hands, knead for 10 minutes, until you get a smooth, elastic dough.
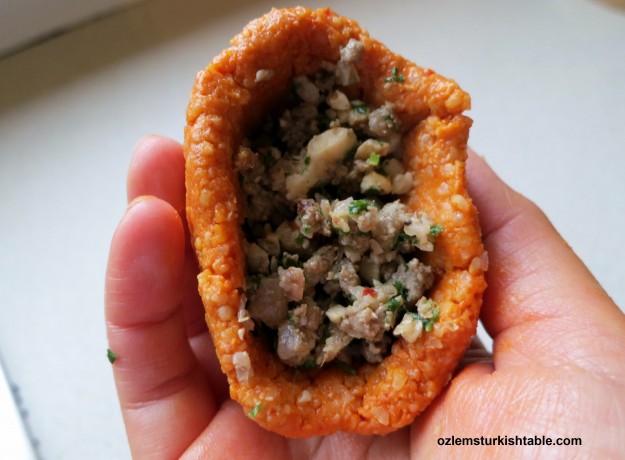
Spoon the filling into the bulgur shell
Now, have a bowl of cold water aside to shape the oval bulgur balls; to avoid sticking bulgur dough into your hands and for the balls to stay intact. Wet your hands with the cold water and take a small tangerine size bulgur dough into your palm. Roll it into an oval shape and then using your thumb, hollow out an opening in the middle. Shape the ball into a thin-walled (about ¼”-thick) oval with an opening at one end by molding ball around finger, gradually tapering closed end. Mend any cracks in the shell with a moistened finger. Fill the bulgur shell with about 1½ tbsp. of the filling.
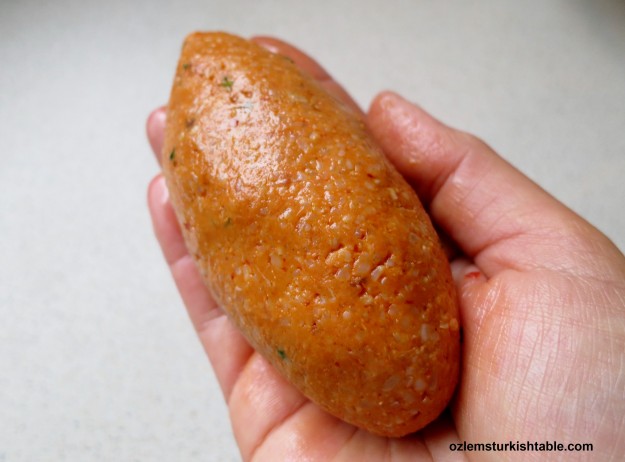
Pinch the edges of the bulgur ball to seal and roll into an oval shape.
Moisten edges of opening, then pinch the edges of the ball to seal. Wet your hands and gently form the stuffed bulgur ball into the shape of an oval with slightly pointy edges. Place it on an oiled tray. Repeat the same shaping with remaining filling and bulgur dough. (I made 5 oruk, oval stuffed bulgur balls and a baked sini oruk, in 32cm / about 12” round baking dish. Alternatively, you can make about 18 oval oruk balls if you like). Place all the finished oval bulgur balls in a well-oiled baking tray and coat them all with olive oil.
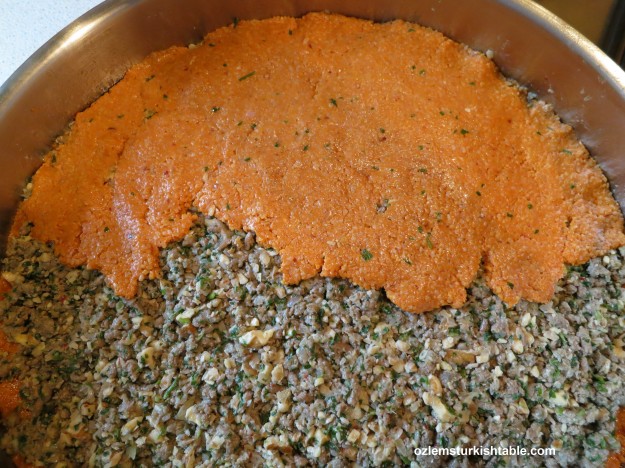
Sini Oruk is another type of baked icli kofte and this tray baked version is much easier. To make it, divide the remaining your bulgur dough into two. Grease a (preferably) round baking dish of 32” diameter with 2 tbsp. olive oil. Wetting your hands with cold water, spread a thin layer of half of the bulgur dough onto the oiled baking dish. Make sure the spread stays intact; wet your hands and seal any broken parts. Spread the ground meat and walnut filling evenly over the bulgur dough spread, press gently.
Place the stretched bulgur dough onto the filling over the round baking dish and bind all together.
Grease a chopping board or a work surface with 1 tbsp. olive oil. Take a handful of the remaining bulgur dough and spread with your hands to form a thin layer (about 1/3cm). Place this stretched bulgur dough onto the filling over the round baking dish. Continue until you finish the dough and the top layer is covered, like a patchwork. Wet your hands and bind all the loose ends. (We need to prepare the top layer on another oiled surface so that we won’t press too hard over the filling and break it into parts.). Oil the top layer of the bulgur spread, with about 2 tbsp. olive oil and cut into diamond or triangle shaped slices.
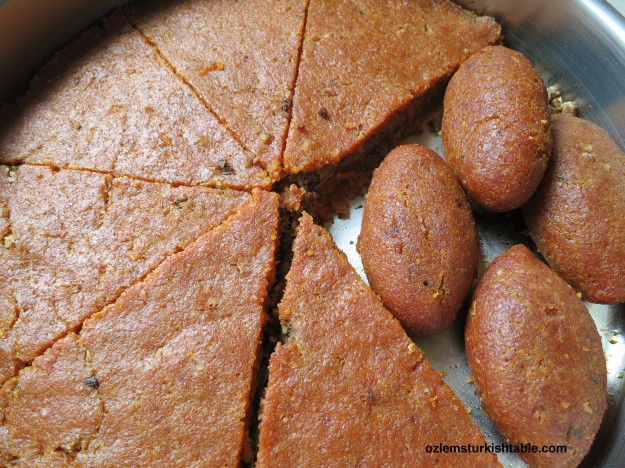
Oruk, baked icli kofte and tray baked sini oruk; both equally delicious
Bake both the oval shaped oruk and the tray bake sini oruk in the preheated oven for about 35-40 minutes, until crispy and golden brown at top. Bulgur absorbs olive oil quickly, so coat both oval bulgur balls and the tray bake with extra olive oil towards the end, so they won’t crack.
You can serve the Sam oruk, oval bulgur balls warm. For the tray bake sini oruk, it is best to wait for about 10-15 minutes to cool down so that they won’t break apart. Cooling and refreshing Cacik dip of yoghurt with cucumber and dried mint complements this delicious treat very well.

Delicious, crispy oruk with ground meat and walnuts filling
Afiyet Olsun,
Ozlem
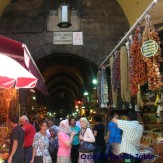
A visual feast of Antakya (Antioch)
I wanted to finish this oruk, baked icli kofte post with a visual feast of Antakya, Ancient Antioch, a cradle of many civilizations; a hope you can make it to my homeland sometime.